7 Car Wash Mistakes That Are Scratching Your Paint
Avoid these seven common car washing mistakes that cause swirl marks, scratches, and paint damage. Learn the right way to wash your vehicle.

Co-founder of Gemstar Eagle with 15+ years in professional auto detailing.
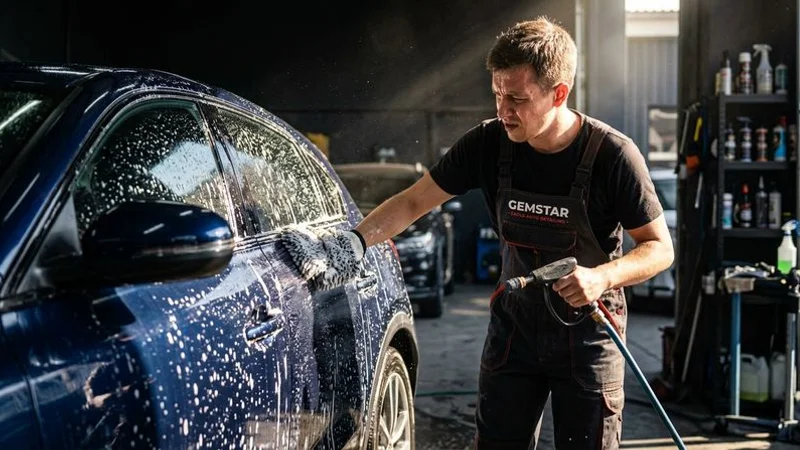
You know how you can spot a poorly washed vehicle from a block away just by the spiderweb reflections in the sunlight? We see this specific type of finish degradation constantly in our mobile auto detailing shop.
The primary culprit is rarely road debris.
Modern clear coats are surprisingly thin and scratch easily under improper friction. Every wipe with a contaminated sponge acts like ultra-fine sandpaper.
Let’s break down the 7 car wash mistakes that are scratching your paint and outline the specific techniques to correct them.
1. Using a Single Bucket
This is the most widespread and damaging wash mistake. A single microscopic grain of sand measuring just 50 microns can carve a visible defect into your clear coat. When you dip your wash mitt into a single bucket of soapy water, you reintroduce all the dirt and grit you just removed from the paint.
That contaminated water loads your mitt with abrasive particles that scratch the surface on the next pass.
The fix: Always use the two-bucket method. One bucket holds clean soapy water, and the second bucket holds clean rinse water with a plastic Grit Guard insert at the bottom. After each panel, rinse your mitt in the rinse bucket, scrub it against the guard, then reload with clean soapy water. This simple baffle system traps abrasive particles at the bottom and keeps them out of your wash solution.
2. Washing in Direct Sunlight
Idaho’s summer sun is intense, and washing your car on a bright afternoon feels like a great idea. The problem is that local Ada County water hardness averages 12 to 18 grains per gallon, which is categorized as very hard. Direct sunlight causes this mineral-heavy water to evaporate rapidly.
This rapid drying leaves behind stubborn calcium and magnesium deposits that physically etch into the clear coat. The intense heat also bakes the surface, causing soap to dry out before you can safely wipe it away.
The fix: Wash in the shade or during cooler parts of the day, such as early morning or evening. If shade is completely unavailable, switch to a rinseless wash product like Optimum No Rinse. These advanced polymer formulas soften the water and encapsulate dirt to prevent spotting in warmer conditions.
3. Using the Wrong Wash Media
Household sponges, old towels, and dish detergents have no place in automotive care. Dawn dish soap has a high alkaline pH of around 8.5 to 9.5, which is fantastic for cutting kitchen grease. That same alkalinity will rapidly strip away protective carnauba wax and paint sealants from your vehicle.
| Wash Media Type | Material Hardness | Scratch Risk | Verdict |
|---|---|---|---|
| Kitchen Sponge | High (Abrasive pads) | Severe | Never Use |
| Cotton Bath Towel | Medium (Flat loops) | High | Never Use |
| 70/30 Microfiber Mitt | Ultra-Low (Deep pile) | Minimal | Highly Recommended |
Household sponges completely lack the soft, deep pile needed to safely pull dirt away from the paint. They simply drag loose grit across the surface and carve micro-scratches with every single pass.
The fix: Use a dedicated pH-neutral automotive shampoo. Pair it with a high-quality wash mitt made from a 70/30 blend of polyester and polyamide microfiber. These synthetic materials feature deep fibers that pull dirt particles up and away from the paint surface. Replace your wash mitt the moment the fibers begin to clump or show heavy wear.
4. Skipping the Pre-Rinse
Rubbing a wash mitt across a dry, dirty vehicle guarantees immediate paint damage. Brake dust contains jagged metallic iron particles that become highly abrasive under the pressure of your hand.
Without a thorough pre-rinse, you are essentially sanding your own car. Every grain of sand and speck of road salt acts like a cutting compound.
The fix: Always pre-rinse the entire vehicle with a strong stream of water before making any physical contact. For maximum safety, apply a thick layer of high-lubricity snow foam, like Bilt Hamber Auto-Foam, using a foam cannon. This specialized pre-wash chemical encapsulates metallic particles and safely lifts heavy dirt away from the surface.
5. Using Automatic Car Washes with Brushes
Drive-through car washes with spinning brushes provide a fast cleaning option that devastates your exterior finish. Our detailing technicians strongly advise against using any wash facility that physically touches your vehicle. Those massive rotating drums spin at hundreds of revolutions per minute while slapping the paint with heavy closed-cell foam or nylon bristles.
The machinery collects abrasive debris from every dirty truck that passes through before yours. The spinning brushes then drag that accumulated contamination across your paint thousands of times in a single three-minute visit.
| Wash Facility Type | Cleaning Mechanism | Paint Damage Risk |
|---|---|---|
| Friction (Brush) Wash | Spinning nylon/foam bristles | Extremely High (Swirls) |
| Touchless Wash | High-pressure chemical arches | Low (Safe for clear coat) |
| Hand Wash (Proper Method) | Lubricated microfiber mitt | Minimal (Safest option) |
The fix: If you must use a drive-through facility, choose a touchless option. Touchless washes use high-pressure water and alkaline chemical arches without any physical friction. They will not clean as thoroughly, but they prevent mechanical scratching. Hand washing or booking a professional exterior detailing appointment remains the safest possible choice.
6. Drying with the Wrong Towel
You just spent an hour safely washing the car, and then you grab a cotton bath towel to dry it off. This single action instantly undoes all your careful scratch-prevention efforts. Standard household towels and traditional chamois leathers lack the plush cushioning required for delicate automotive clear coats.
They drag flat across the surface and create the exact swirl marks you just tried to prevent.

The fix: Upgrade to a heavy-duty, twisted-loop microfiber drying towel rated between 1,000 and 1,400 GSM (Grams per Square Meter). Towels in this specific weight class, like the popular Dreadnought series, absorb massive amounts of water instantly. Pat the surface dry to minimize friction, and wash these towels separately to avoid lint contamination.
7. Neglecting Wheels and Tires First
Here is a frequent operational error that ruins a perfect wash. If you clean the painted body panels first and then scrub the wheels, filthy rinse water splashes directly back onto the clean car.
Brake dust is highly corrosive and leaves abrasive iron shavings sitting on your wet doors. If those iron shavings dry on the surface or get picked up by your drying towel, they will carve deep scratches into the finish.
The fix: Always clean your wheels, tires, and fender wells first. Use a dedicated iron-decontaminating formula like CarPro IronX alongside a completely separate set of wheel brushes. Once the wheels are spotless and fully rinsed, you can safely begin washing the painted body panels without fear of cross-contamination.
The True Cost of These 7 Car Wash Mistakes That Are Scratching Your Paint
Each time you commit one of these common errors, the physical degradation builds up rapidly. A vehicle washed incorrectly just twice a month will develop severe hazing within a single year.
The Real Cost of Scratches
Fixing this accumulated damage requires professional paint correction to properly level the clear coat. Recent industry data for 2026 shows that a standard paint correction in the United States currently averages between $400 and $1,200.
Prevention Saves Money
Investing fifty dollars in proper buckets and thick microfiber towels saves you hundreds of dollars in professional restoration fees down the road. If you are weighing the tradeoffs, our breakdown of DIY car wash vs. professional detailing covers the full picture.
Common Signs of Wash Damage
You can easily spot the signs of bad wash habits under direct sunlight by looking for these specific indicators:
- Circular spiderweb patterns reflecting around the sun
- Straight-line scratches along the lower door panels
- Dull, muted reflections that lack sharpness
- Rough texture when running a hand across the clean hood
Protect Your Investment
If your vehicle’s paint is already showing the dull, hazy effects of these bad habits, do not panic. Professional repair safely levels the clear coat to restore a flawless, factory-level gloss.
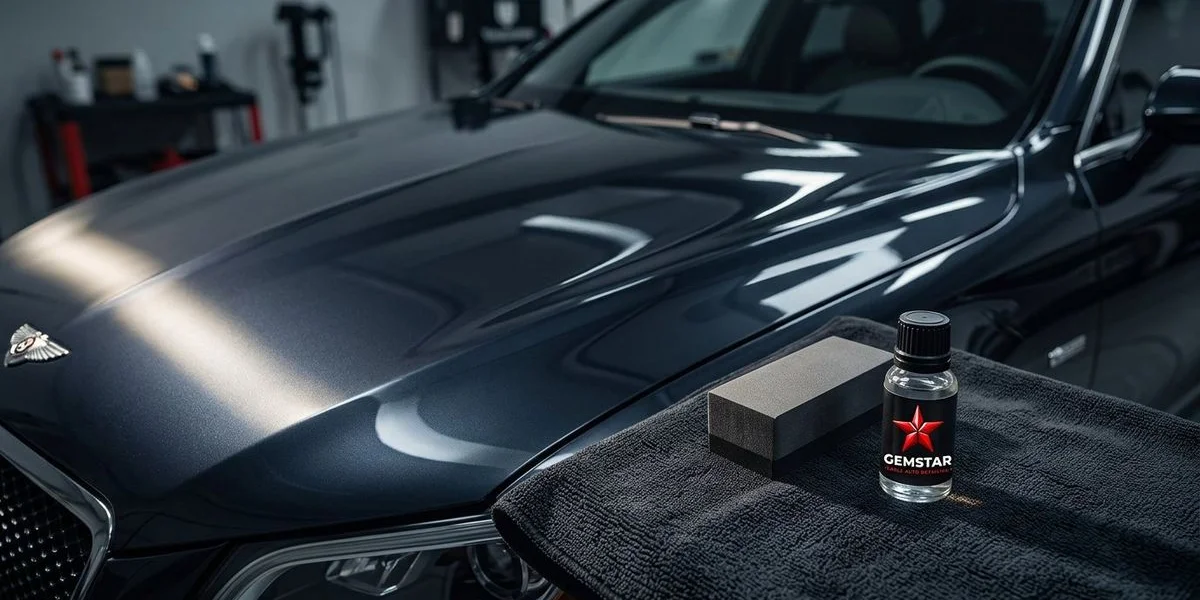
Once the surface is perfected, applying a premium ceramic coating creates a hardened protective layer. This slick barrier repels dirt and makes your future weekend washes significantly safer. Avoiding these 7 car wash mistakes that are scratching your paint is the best way to maintain your vehicle’s value.
Our facility helps owners throughout Boise, Meridian, and the Treasure Valley preserve their automotive investments. Call our shop today at (208) 953-9102 to schedule a free paint assessment and discuss your correction options.

Tags
Related Service
Learn More About Our Exterior Detailing Service → About Justin
Co-Founder & Lead Detailing Specialist at Gemstar Eagle Auto Detailing
Co-founder of Gemstar Eagle with 15+ years in professional auto detailing.
Related Articles
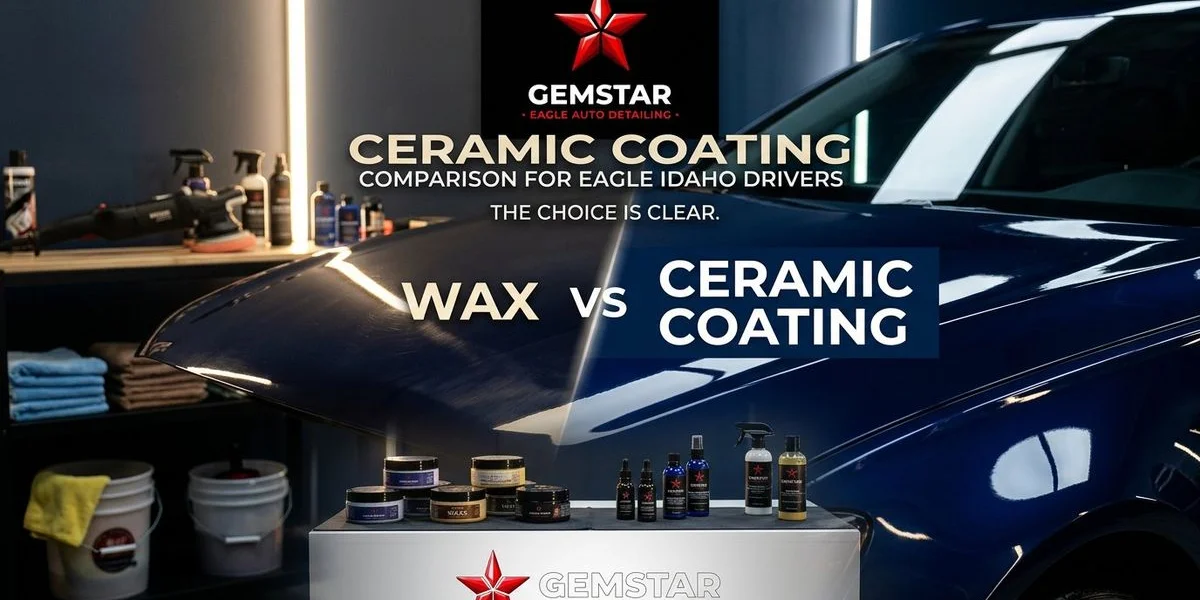
Ceramic Coating vs. Wax: Why Eagle Residents Are Switching
Discover why more Eagle, Idaho drivers are choosing ceramic coating over traditional wax. Compare durability, protection, cost, and long-term value for your vehicle.
How Much Does Ceramic Coating Cost in Eagle, Idaho?
Get a clear breakdown of ceramic coating costs in Eagle, Idaho. Understand what affects pricing and how to choose the right package for your vehicle.
Do You Need Paint Correction Before Ceramic Coating?
Find out why paint correction before ceramic coating is essential for the best results and what happens if you skip this critical step.
Ready to Book Your Detail?
Put your knowledge into action. Schedule a premium mobile detail with Gemstar Eagle today.